Doughnuts!
I worked long and hard on this custom brioche recipe that can be made and finished in one day - unlike the classic recipe that requires an overnight rise. I wanted to create a light, airy dough while retaining a rich, buttery flavor. My dough is easy to work with and very forgiving.
Yield: 24 doughnuts
For the Brioche Dough:
4 1⁄2 cups flour
4 tablespoons sugar
1 tablespoon baking powder
1 packet instant yeast
1 teaspoon salt
1⁄4 teaspoon nutmeg
1 3⁄4 cups whole milk
2 eggs
1 stick unsalted butter, cool but not cold and still solid, cut into about 10 small pieces
For the Vanilla Glaze:
2 cups powdered sugar
1 teaspoon corn syrup
Seeds scraped from 1⁄2 vanilla bean
Pinch of salt
1⁄4 cup warm water
Equipment:
Stand mixer with a dough hook
Large bowl or plastic container
Rolling pin or docker (a roller with pins)
Doughnut cutter (3.5-inch standard size) or two concentric cutters
Large baking sheet
A frying spider
Two wooden spoons
Cooling rack or newspaper
Candy/deep fry thermometer
Using a dough hook and a stand mixer on low speed, mix flour, sugar, baking powder, yeast, salt, nutmeg, milk and eggs until blended together.
Turn mixer to medium speed. Add butter, one piece at a time: wait until each piece mixes into the dough before adding the next. Let mix for 10 to 12 minutes on medium speed, or until the dough cleans the side of the bowl and makes a continuous thwacking sound as it mixes for 1 to 2 straight minutes.
Turn the dough into a greased bowl or plastic container. Cover with a plastic bag, lid or another material that air can’t penetrate. Let rest for 30 minutes.
Fold the dough by stretching all four sides into the center. Flip it over so it doesn’t unfold itself. Cover and let rest for another 30 minutes.
Using a rolling pin or a docker (a baker’s rolling pin with pins that pokes holes in the dough), carefully roll the dough into a sheet that is about 1⁄2” thick (about one finger). Docking the dough breaks up the giant air pockets and allows it to rise evenly.
Using a doughnut cutter or two concentric circle cutters, cut rings out of the dough and place them on a floured baking sheet. For a 3.5” standard doughnut cutter, you can fit 12 rings on one standard 13x9” baking sheet in a 3x4 pattern.
Cover each tray (I recommend using an unscented kitchen-size garbage bag) and let doughnuts rise. After about 60 minutes, poke the dough with your fingertip. If the dough comes back halfway, it’s ready to fry. If it comes back all the way, so you can’t see your fingerprint, it’s not ready yet. In a 70-degree kitchen, they should take 60 to 90 minutes to rise.
Start gathering tools for frying. You will need a spider, two wooden spoons and a cooling rack or newspaper (which will suck the grease away from the hot doughnuts).
Pour about three inches of canola oil into a large pot. Heat until oil reaches 365 degrees, as measured by a thermometer.
While the oil is heating, make the vanilla glaze. Slowly whisk water into the sugar, corn syrup, salt and vanilla. Start out by making a paste to beat all the lumps out of the sugar. Gradually add the remaining water and whisk until it is smooth and thin enough to glaze.
Carefully place each doughnut in the oil. After 90 seconds, use the handle ends of the wooden spoons to flip the doughnuts over. Continue to fry for another 90 seconds. Using the spider, remove doughnuts from oil. Place on cooling rack or newspaper.
While doughnuts are still warm, dip them into the vanilla glaze and return to the drying rack to cool completely before serving. Or eat them while they’re still warm, if you can’t wait another second!!!
***If you would like this recipe in weight format, please email rachel@montclairbread.com and I’ll send it over!
Yana's Mom's Granola
My first few days in the hospital were rough. Meal deliveries were inconsistent, sometimes non-existent and altogether inedible. Yana brought me a fresh batch of granola her mom made and shipped from California. She told me, as a teenager, it was the only thing she could be convinced to eat. It sustained me for the rest of my stay. Yana renewed my supply when I was released. It continued to be my go-to recovery food then turned into fuel for my workouts as physical therapy progressed. Then, Yana’s mom’s oven broke and the granola supply dried up. She sent us her recipe so we could make our own.
Ingredients
1 cup olive oil
1/2 cup honey
1 teaspoon vanilla extract
10 cups rolled oats
3/4 cup cashews
3/4 cup sliced almonds
3/4 cup walnuts
3/4 cup sunflower seeds
1 cup sweetened shredded coconut
1 cup raisins
Procedure
Preheat oven to 325F
Warm honey, oil & vanilla in a large pot, stirring until blended
Remove from heat, mix in oats until evenly coated
Add half the cashews, almonds, walnuts and sunflower seeds to the oats, reserve remaining half for later
Spread oat mixture on a baking sheet
Bake for one hour. Every 20 minutes, stir granola so ingredients are evenly toasted
Remove from oven. Pour granola into a bowl and toss with remaining nuts, seeds, coconut and raisins
Store in airtight container
Yana’s mom gave us her blessing to make this recipe our own. You can substitute different nuts or dried fruits. I made mine exactly as she made hers because it’s perfect the way it is.
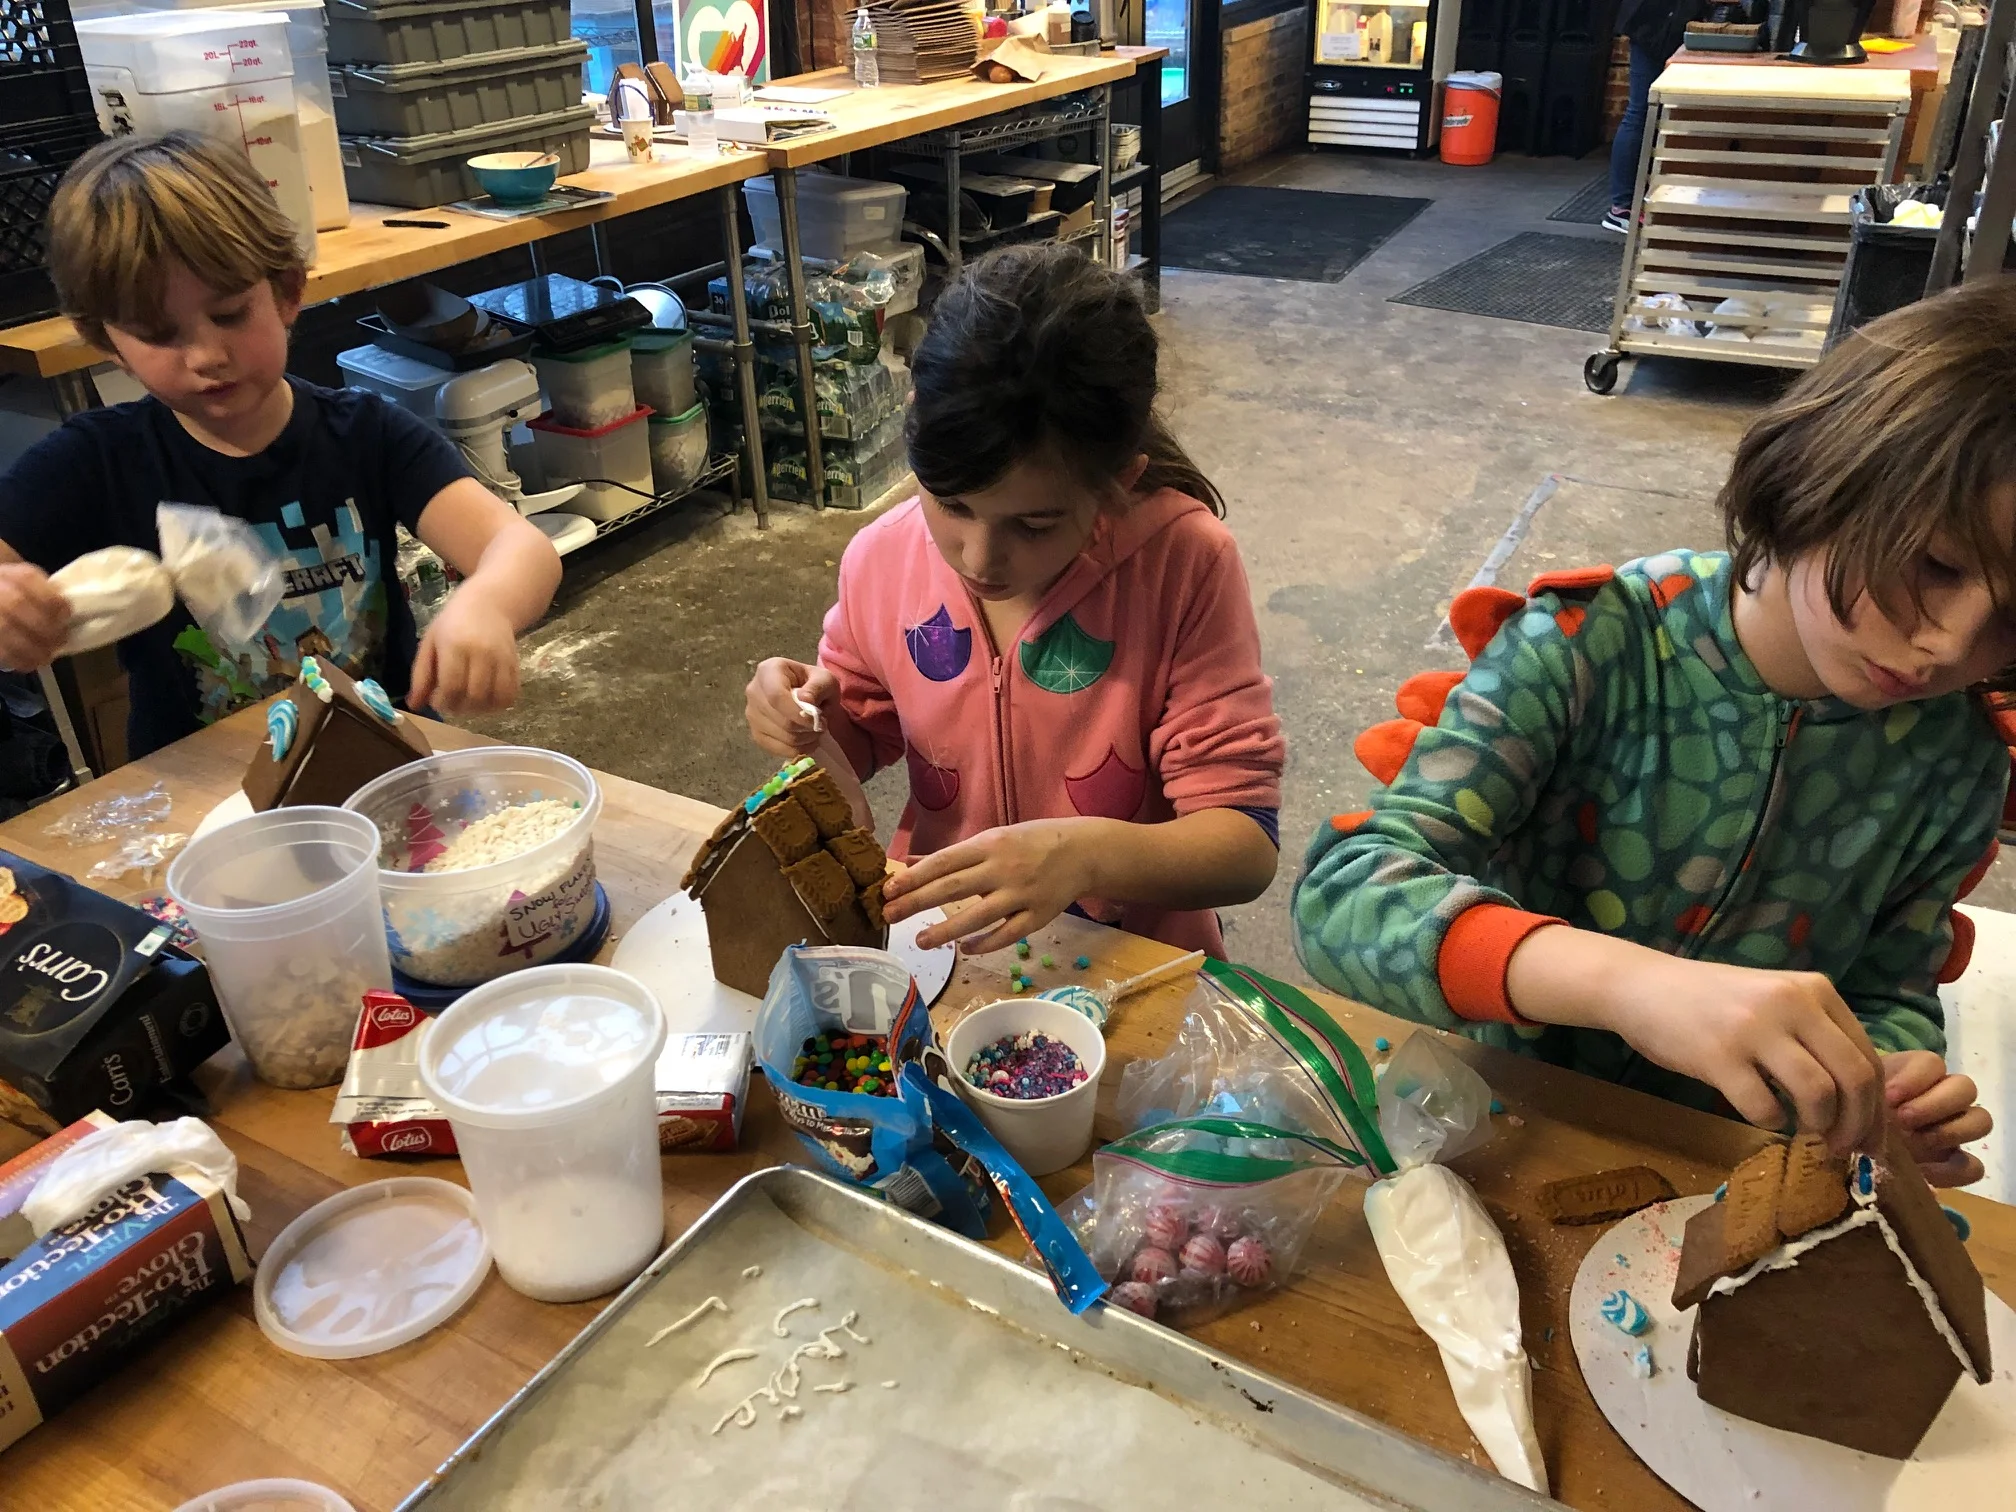
Gingerbread
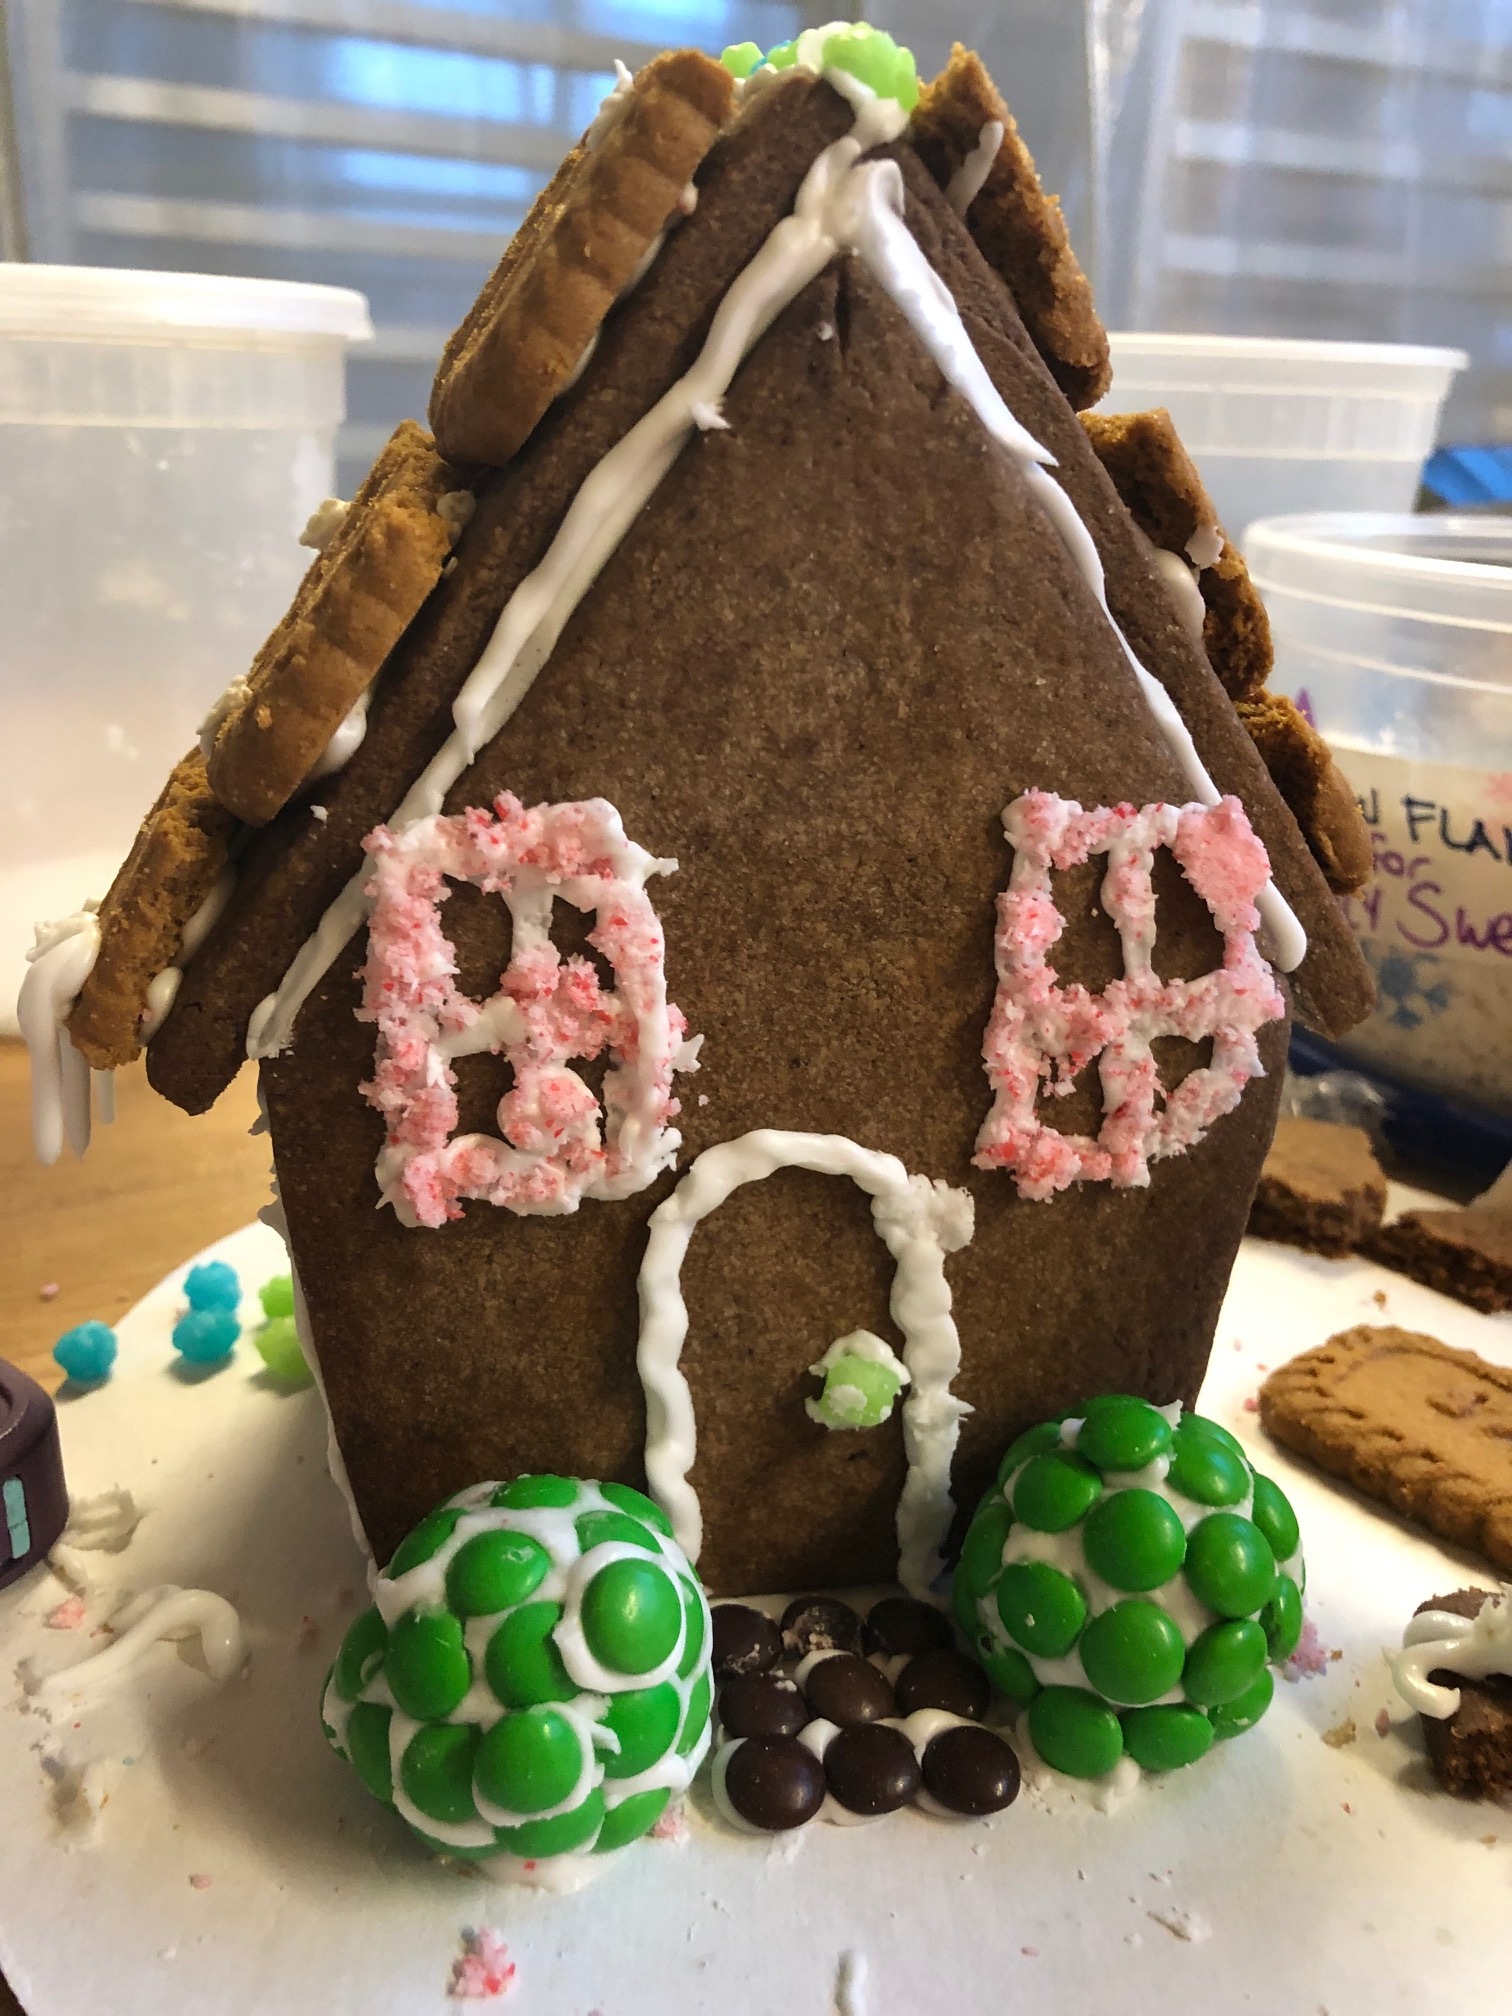
Warning: This is NOT a traditional gingerbread recipe but it is a recipe that works every, single time. It won’t be too soft and sticky. It won’t be too hard and crumbly. It doesn’t spread in the oven. It is perfect for cut out cookies and gingerbread houses.
2 lbs butter
1 lb sugar
4 eggs
1/4 cup black strap molasses
3 lbs flour
1/3 cup dark cocoa powder
1/4 cup gingerbread spice*
Cream butter & sugar until light and fluffy. Add eggs one at a time until incorporated. Add molasses until blended. Add dry ingredients until just combined.
Roll dough to 1/4” thickness for cut outs.
Bake at 350F for 12-15 minutes for 3-5” cookies (less time for smaller pieces)
* Gingerbread spice blend: 3T ginger, 2T cinnamon, 1T nutmeg, 1T clove, 1t white pepper
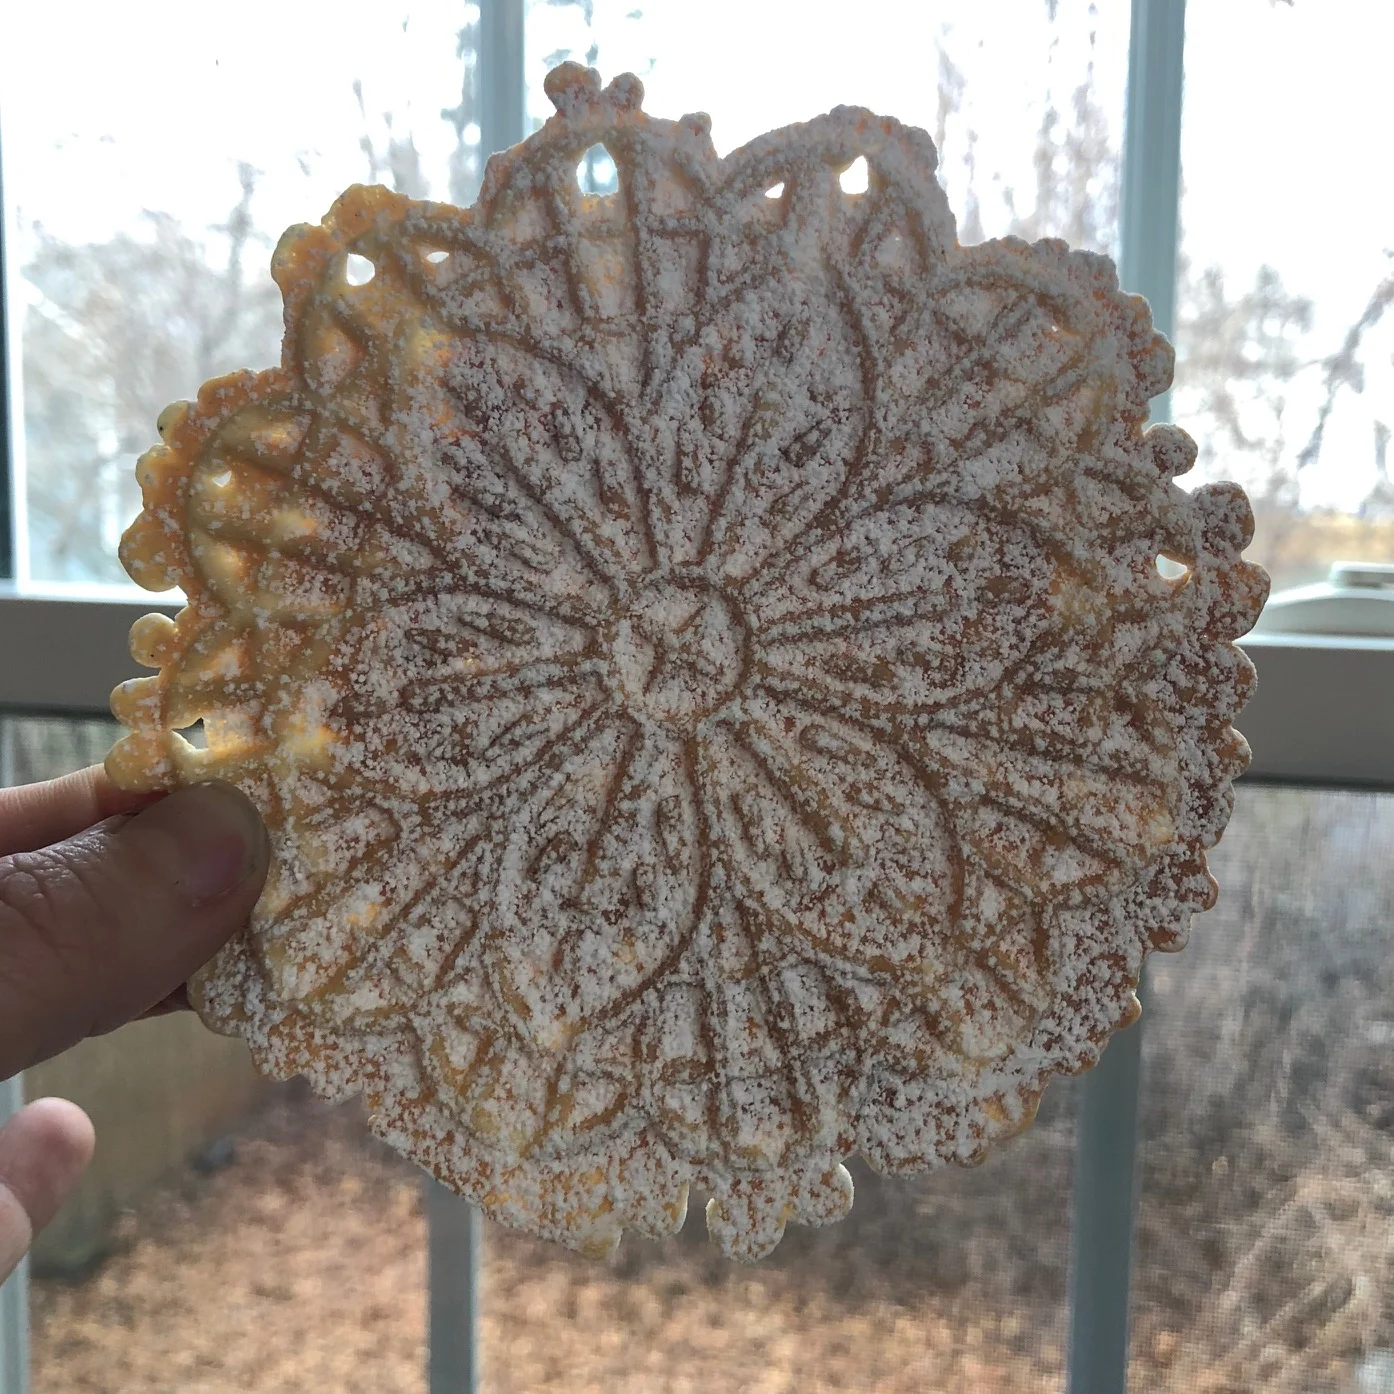
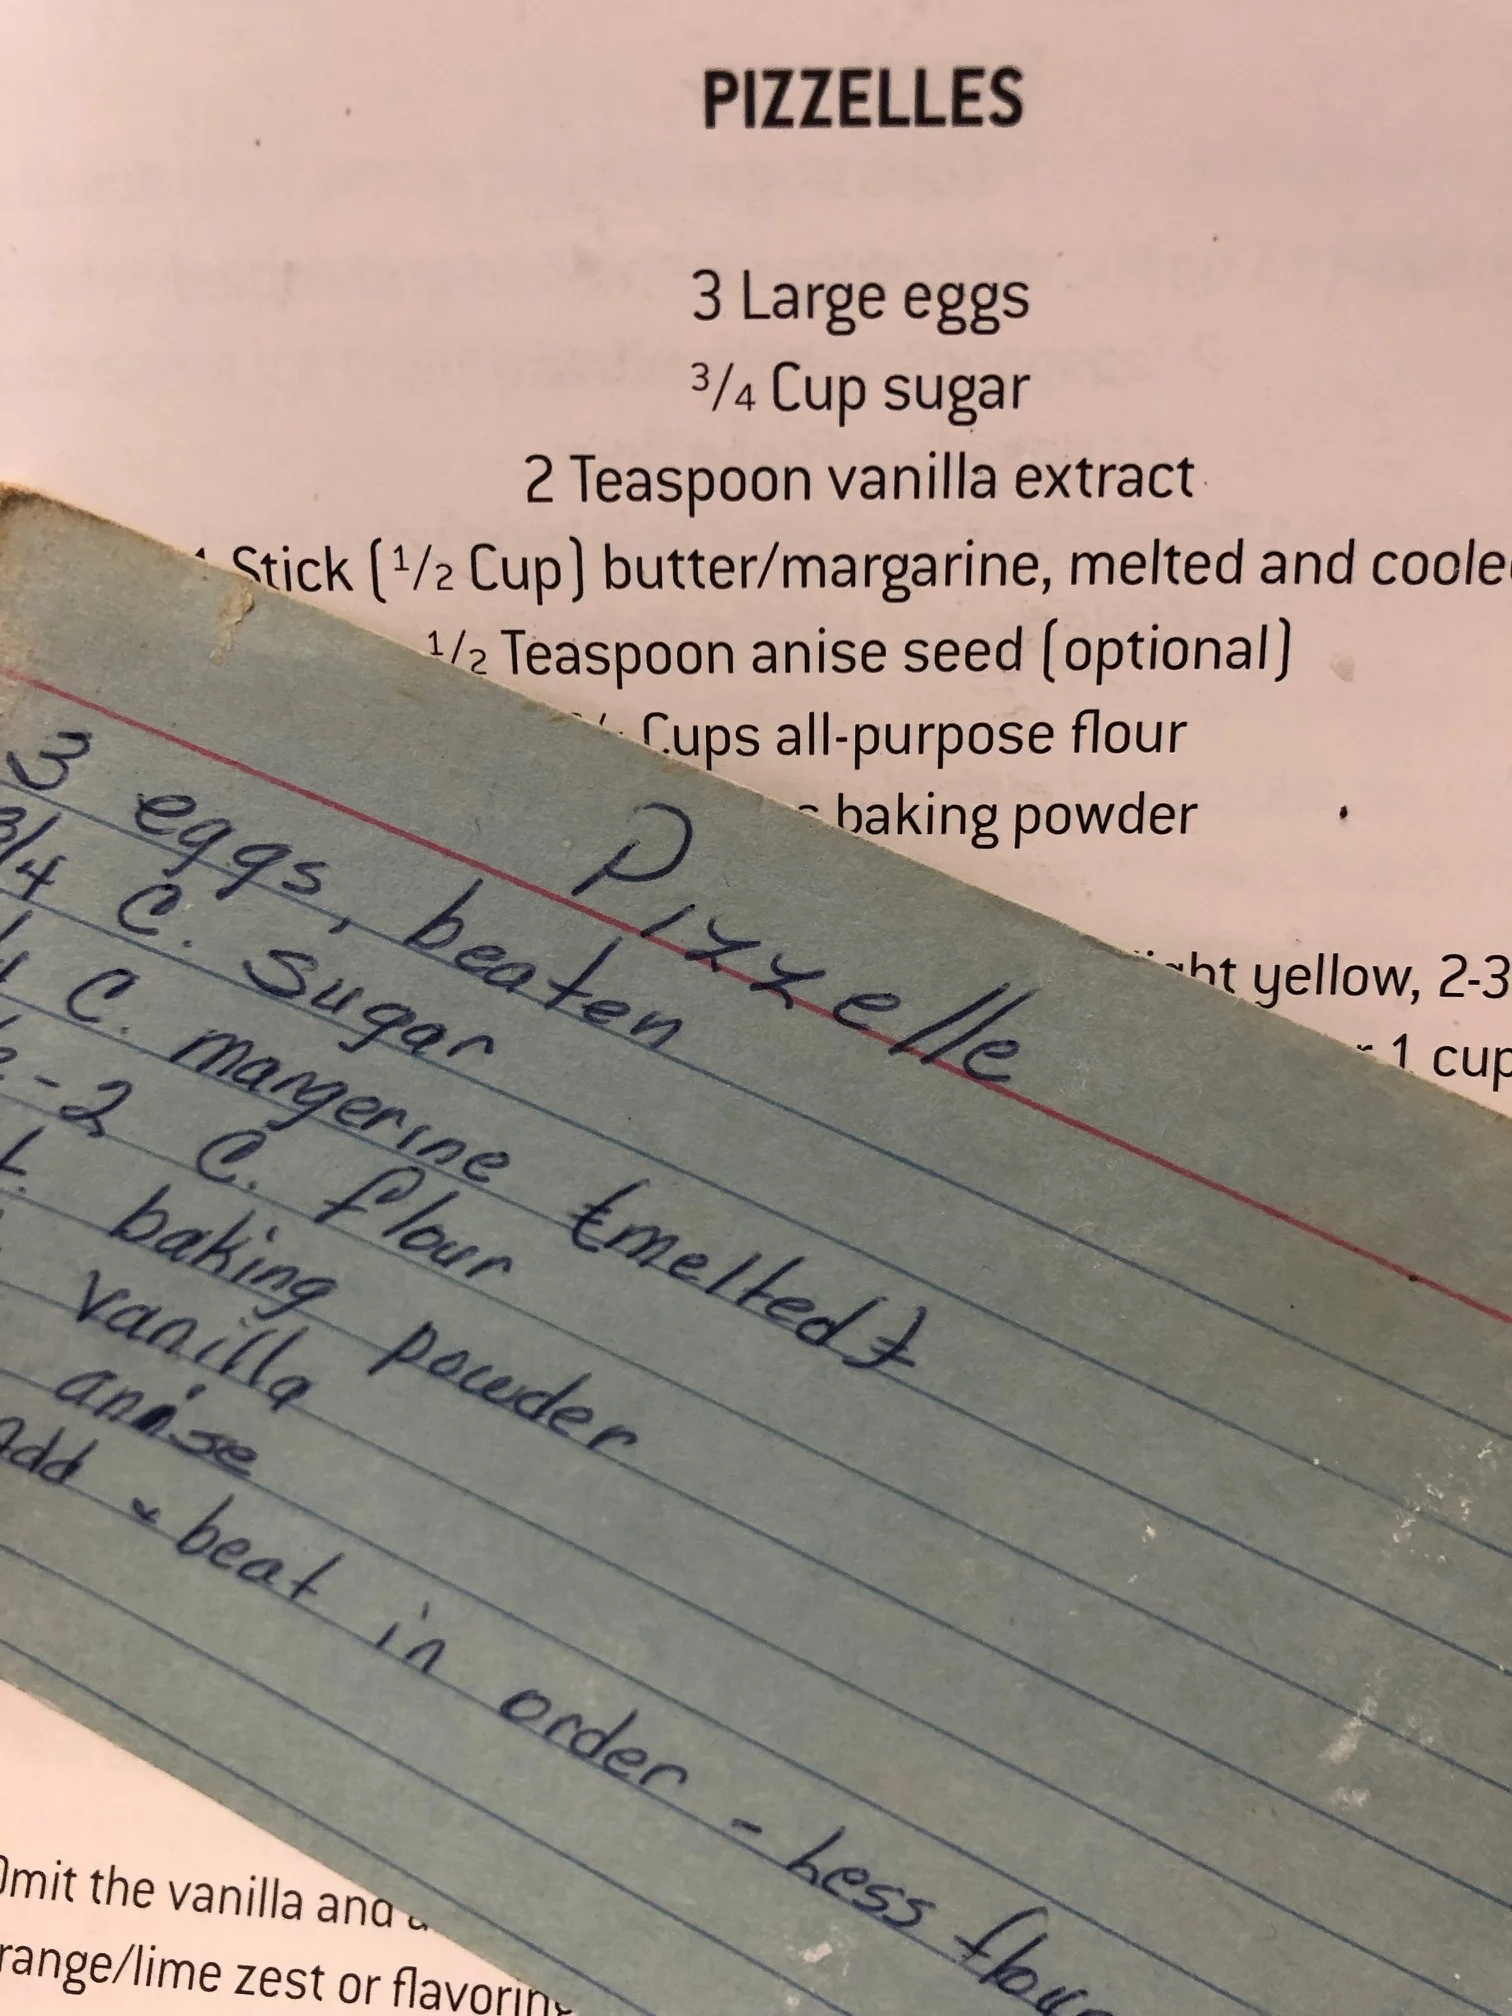
Pizzelles
3 large eggs
3/4 cup sugar
2 teaspoons vanilla
1 stick unsalted butter (melted)
1/2 teaspoon anise
1 3/4 cup flour
2 teaspoons baking powder
Melt butter and set aside. Beat eggs and sugar until light and foamy. Add melted butter and vanilla until incorporated. Sift together flour, anise and baking powder. Combine with wet ingredients.
Place 1 tablespoon batter in the center of the hot pizzelle iron. Heat until golden brown, about 45 seconds. Remove, repeat. Dust cooled cookies with powdered sugar.
Anise and vanilla can be replaced to change flavor…orange extract & cardamom for example.
Pecan Cups (Tasses)

Dough
1 package (8oz) cream cheese
1 stick unsalted butter
1 1/2 cup flour
Filling
1 stick unsalted butter
2 egg yolks
1 cup chopped dates
1 cup chopped pecans
2 egg whites
1 cup sugar
1/2 teaspoon vanilla
Make the dough. Cream butter and cream cheese until smooth. Add flour until just combined. Push one teaspoon of dough into each cup of a mini-muffin pan. Shape the dough up the sides of the pan to create a space for the filling. Set aside.
Make the filling. Cream butter and sugar until light and fluffy. Add yolks and mix until smooth. Add dates, pecans and vanilla. Set aside.
Whip egg whites until stiff. Fold whites into pecan mixture until incorporated.
Spoon filling into dough cups. Do not overfill. They will stick to the pan.
Bake for 20 minutes at 350F. They might not look like they’re baked. The filling gets white and frothy in the oven. When they cool, it solidifies. Do not over bake.
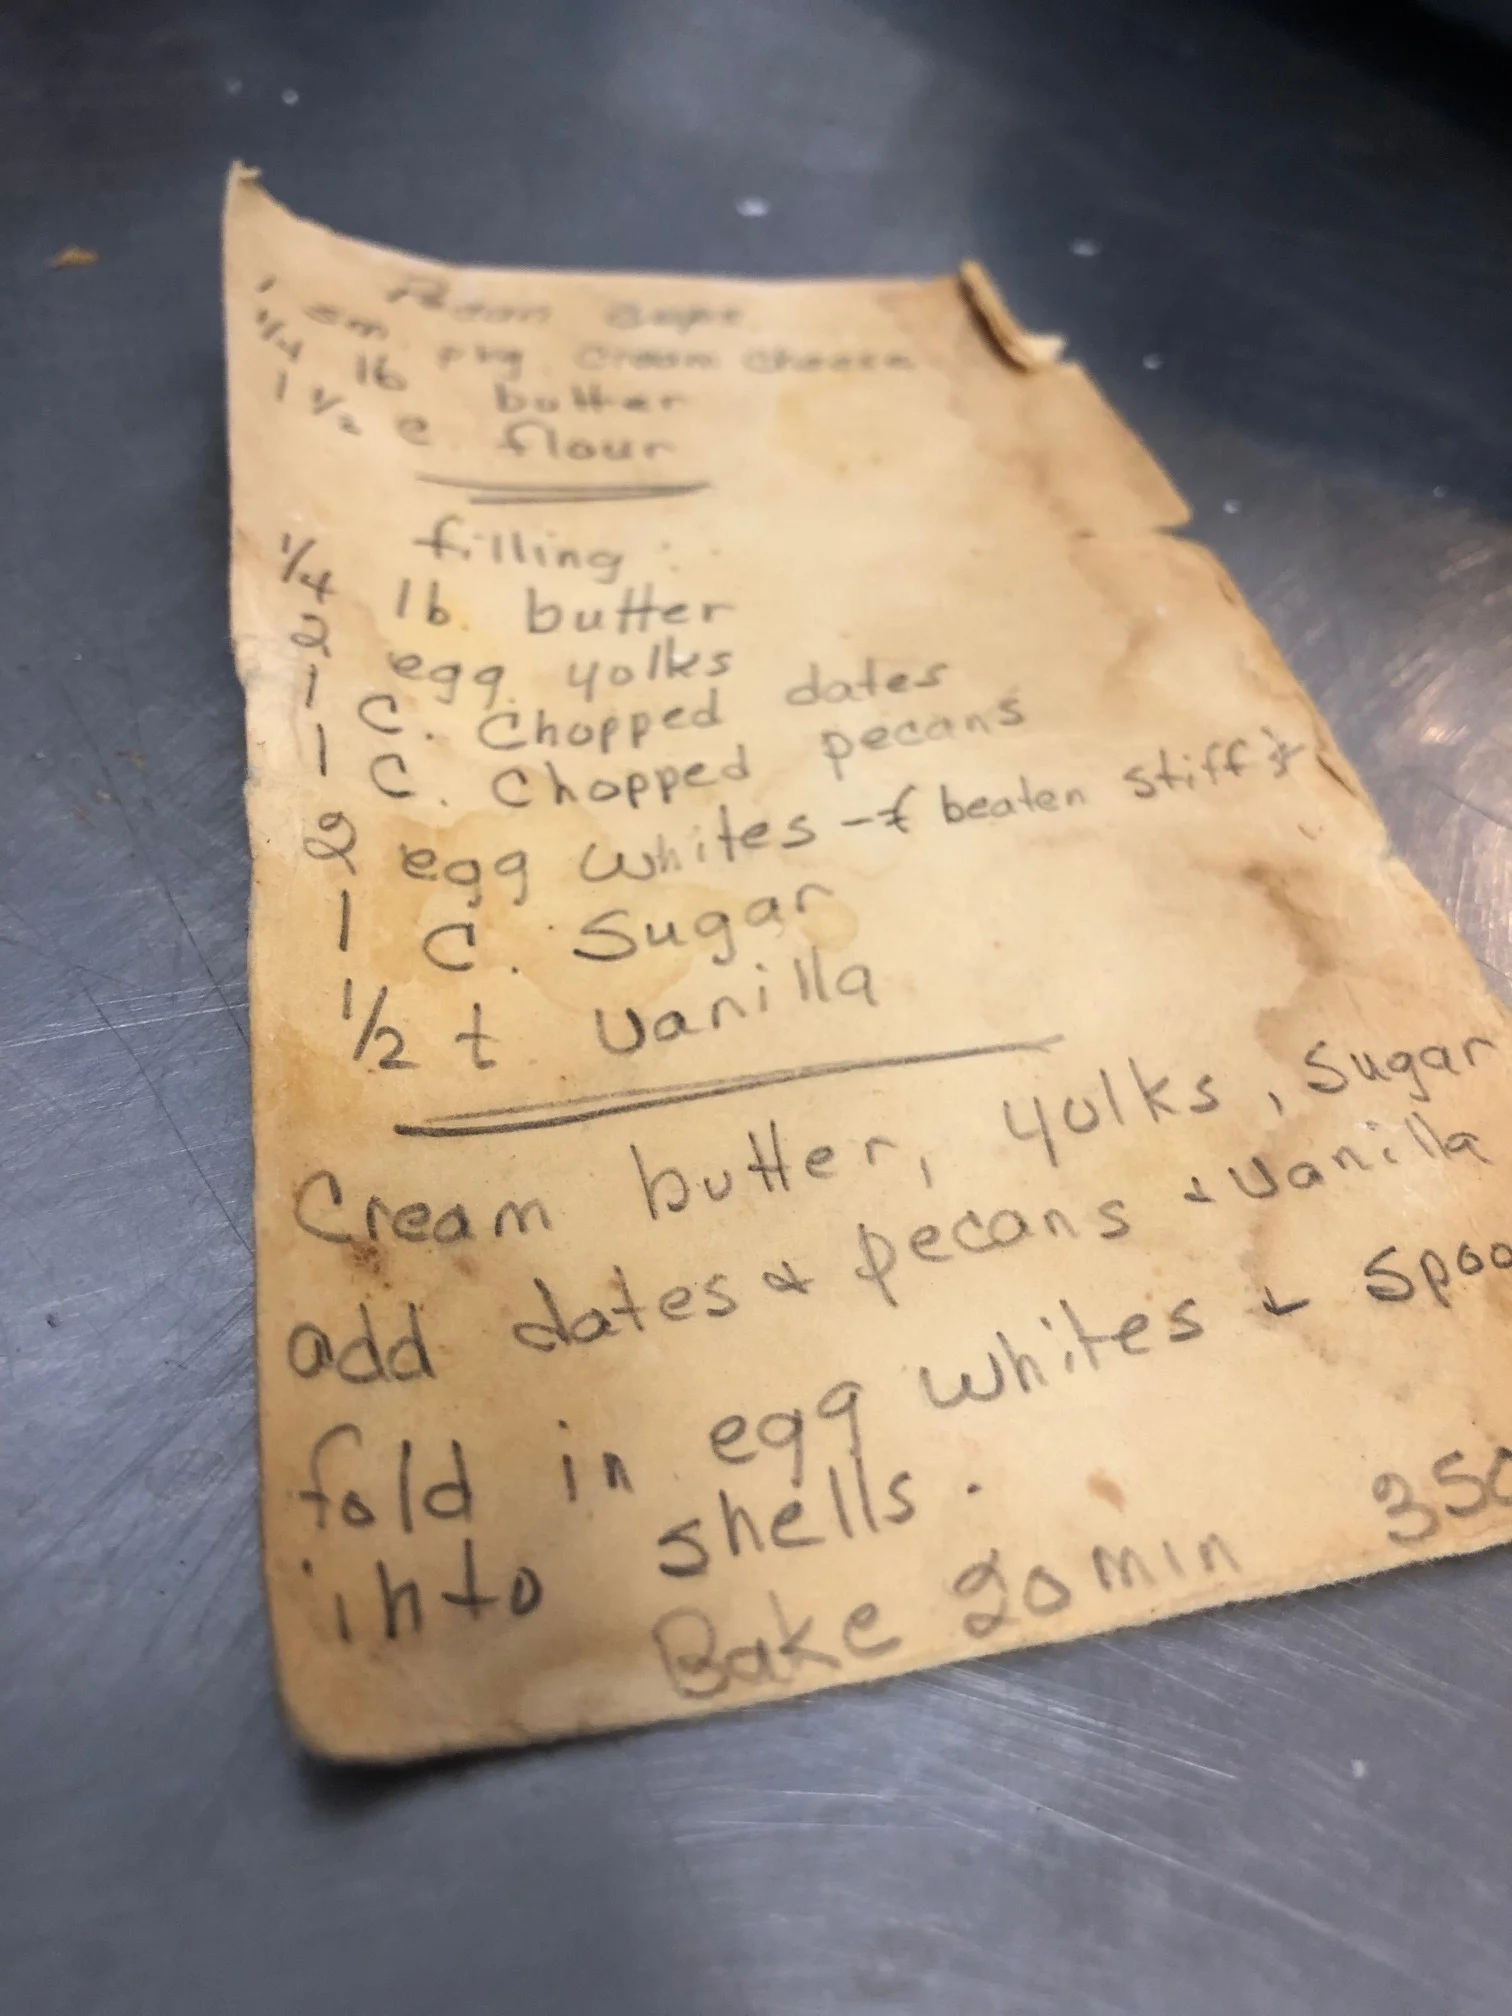
Mombo’s recipe. This is one of the oldest cards in her box. Some still have her maiden name signed on the back.
Reindeer Antlers
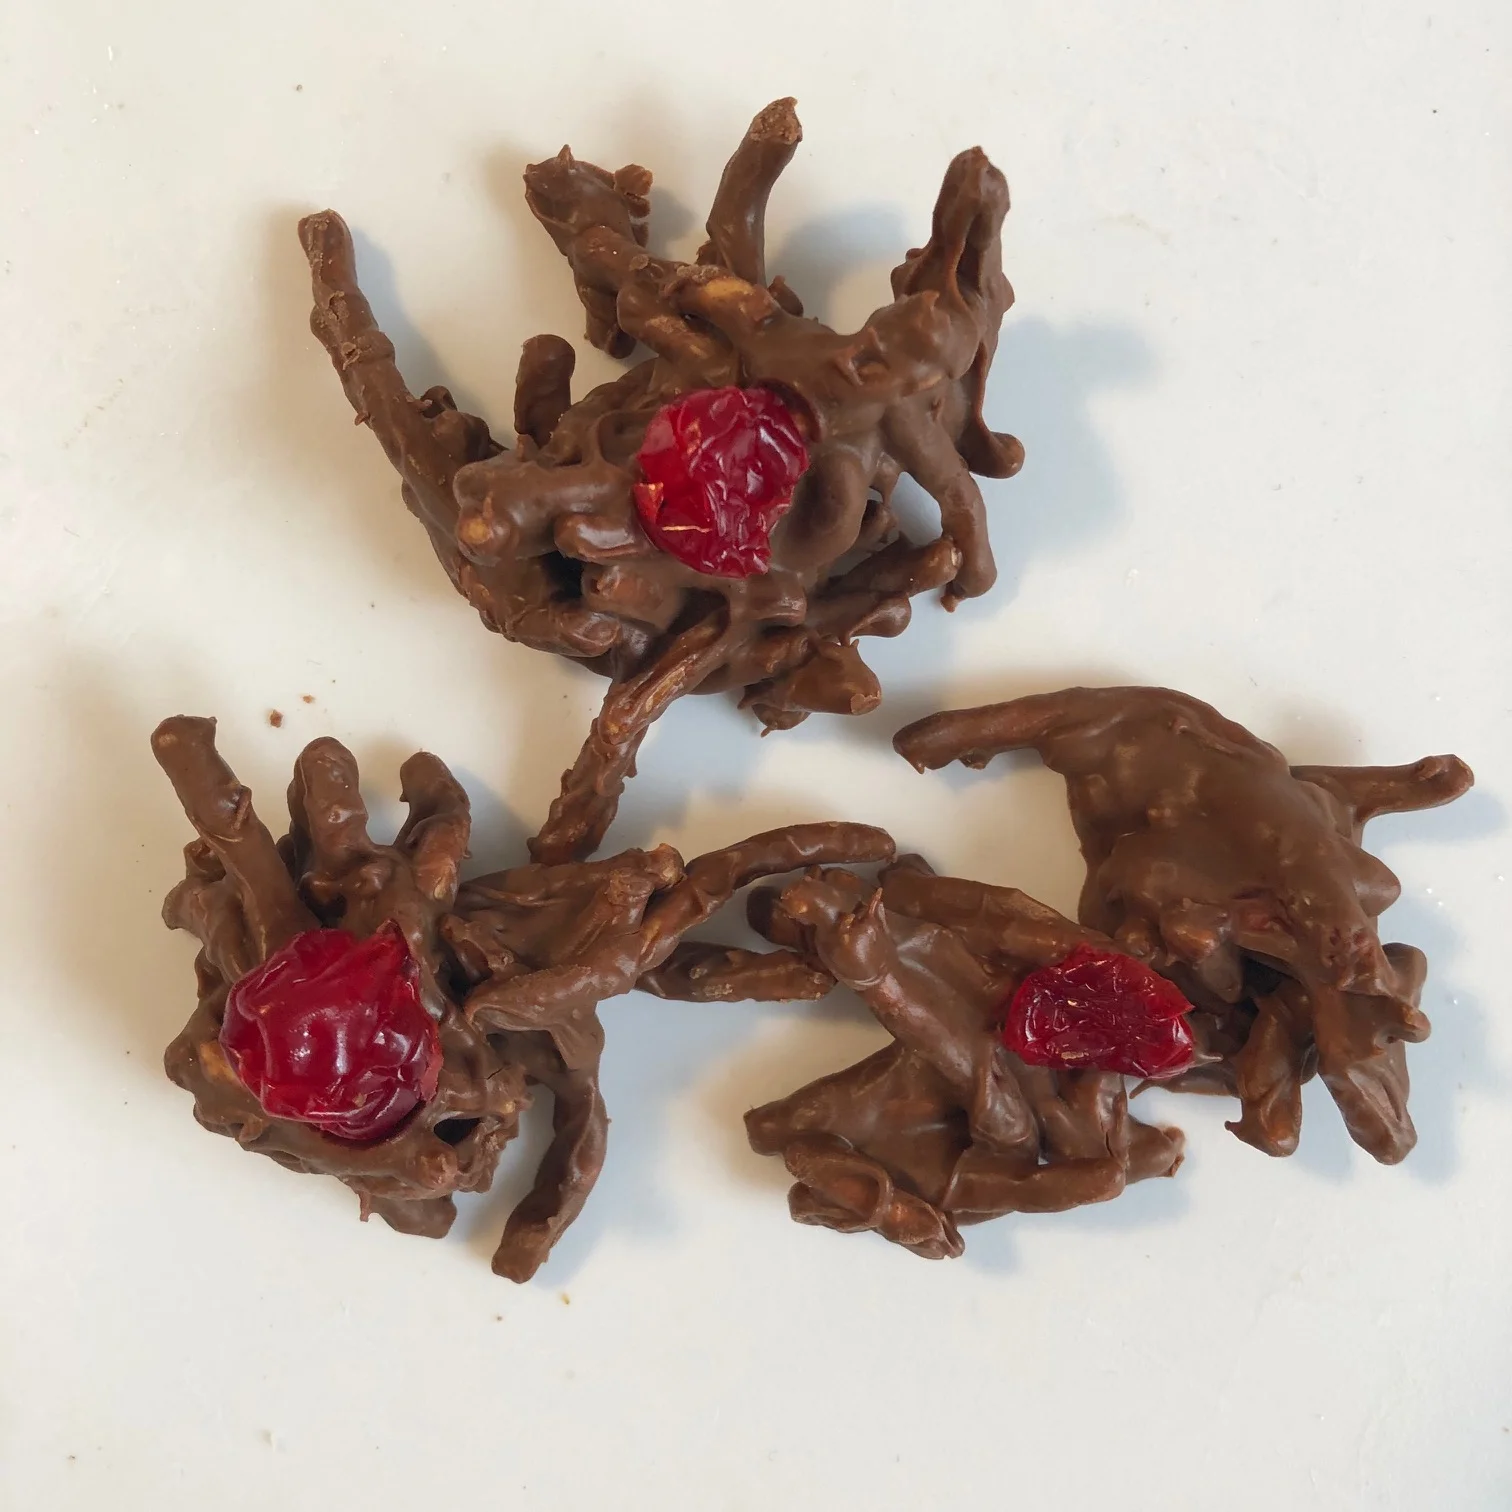
Made by Josie, Keegan & Malachi Crampsey with minimal arguing & maximum finger licking.
These were a staple in our house every Christmas. I’m not sure where my grandmother originally clipped the recipe from but I have modified it a little to adjust for current packaging sizes and I omitted the nuts. I don’t recall Mombo ever making them with nuts. I also added the cherries just as she always did.
1 package (11oz) semi-sweet chocolate chips
1 package (11oz) butterscotch chips
1 can (5oz) chow mein noodles
1 small jar maraschino cherries
Melt chocolate and butterscotch together over a double boiler. Remove from heat. Stir in chow mein noodles. Drop teaspoons of mixture onto parchment paper. Place cherry in center before the chocolate sets. Makes about 1 dozen cookies.
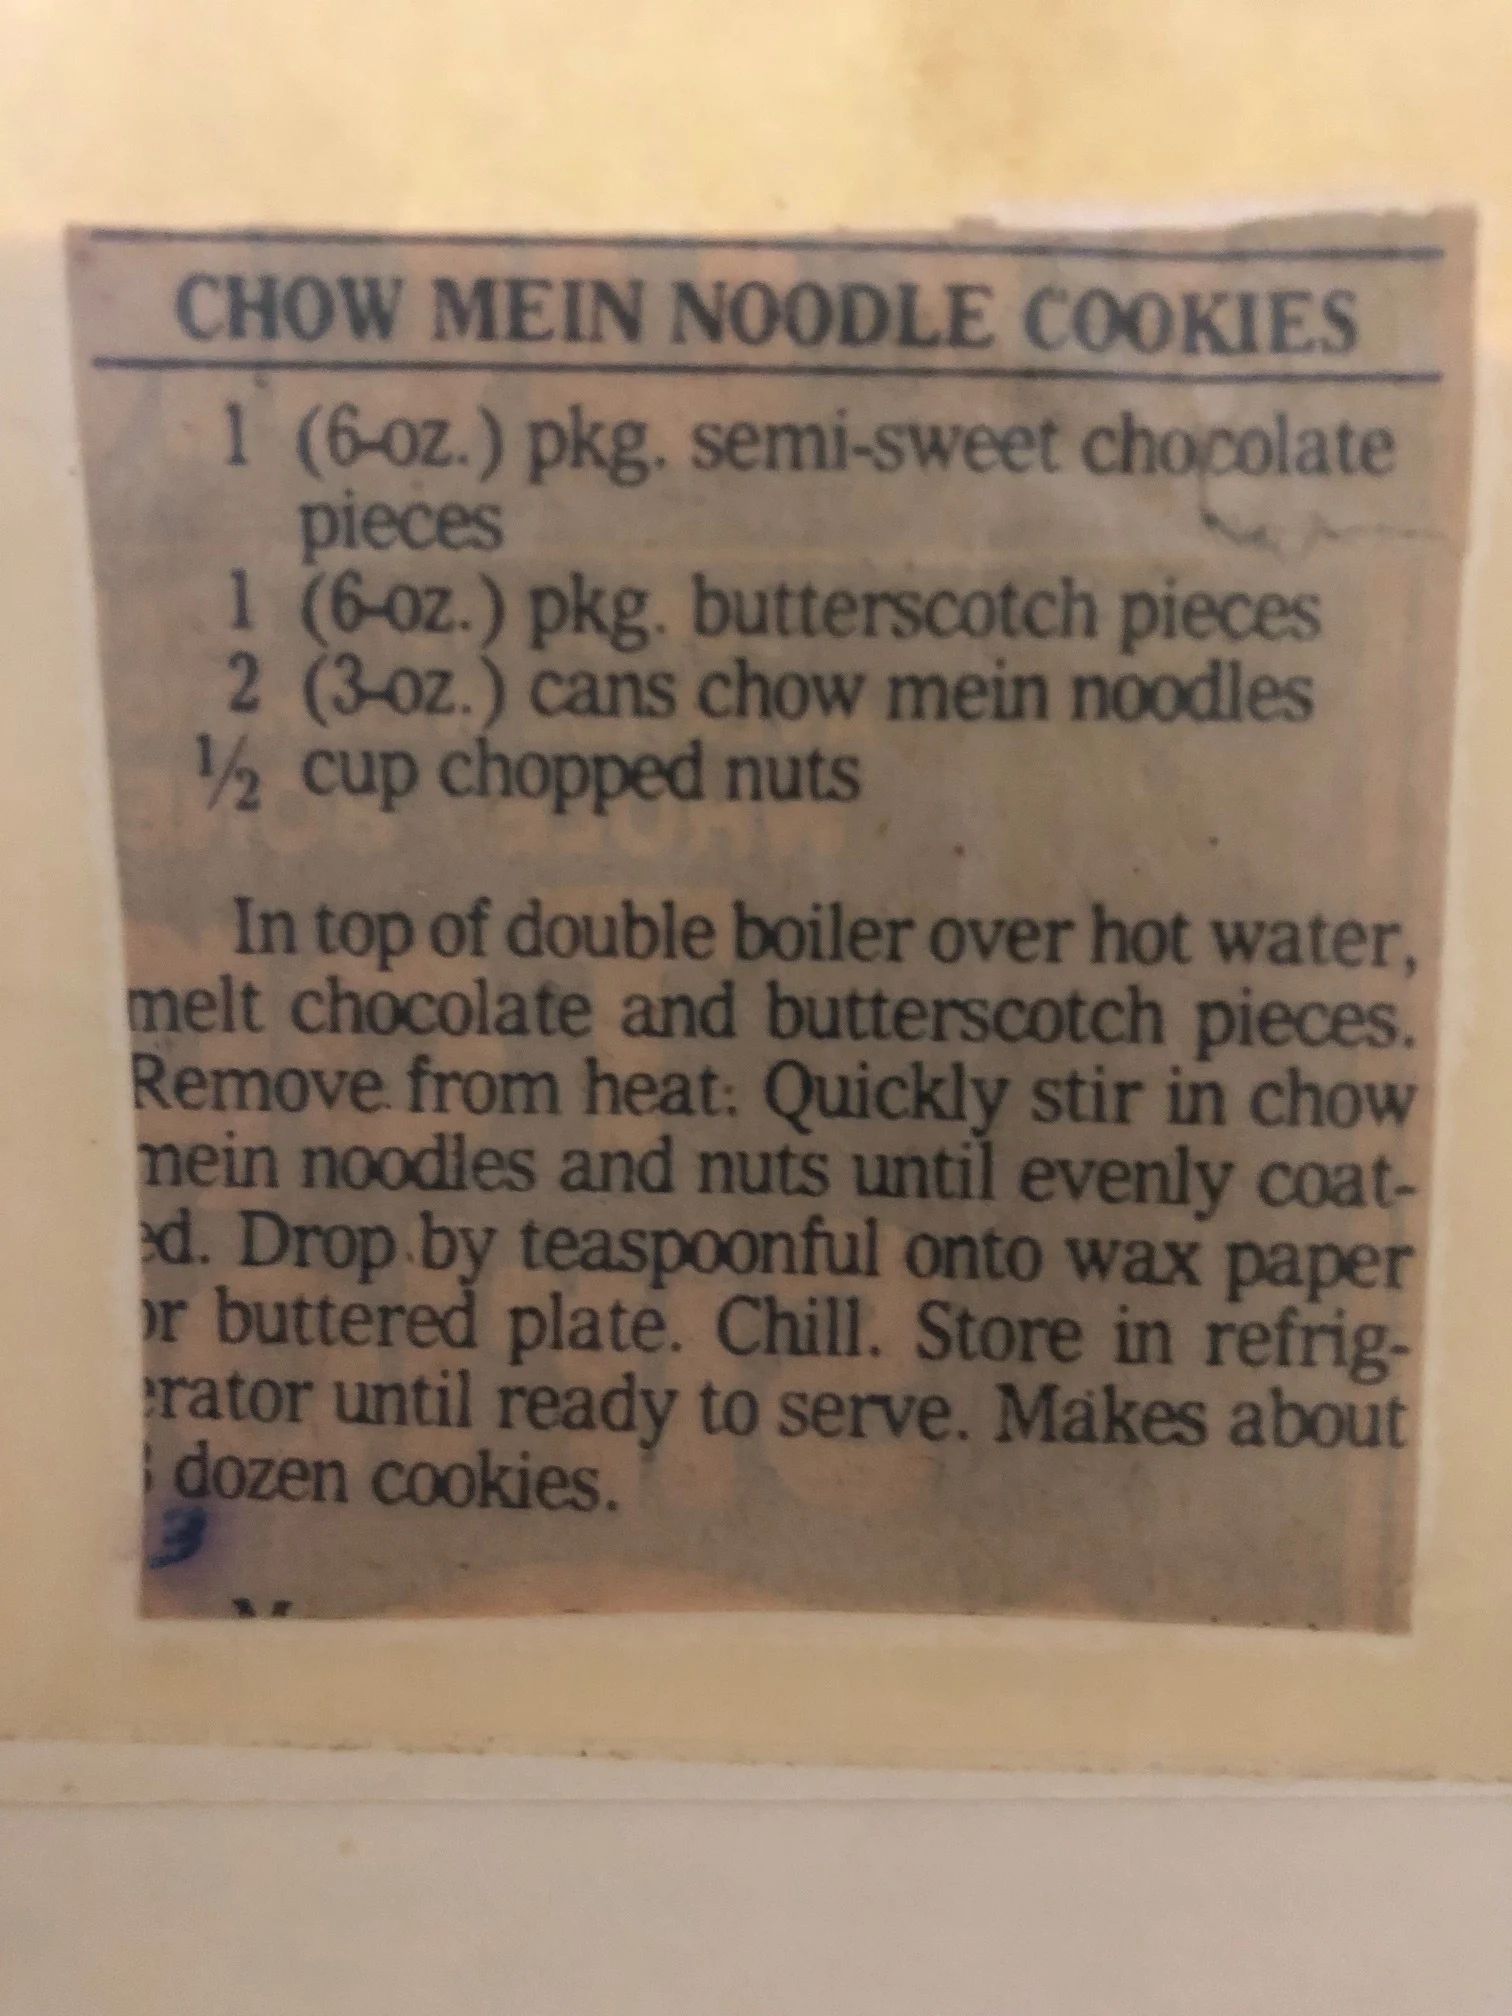
The original recipe from Mombo’s box.
Cowboy Cookies
Yum!
When I was a freshman in college at the University of Florida, I sat in lecture halls with hundreds of other students. I had a hard time paying attention to my professors. I stashed Bon Appetit and Gourmet magazines in my back pack to read during the 90 minute blocks. I came across a recipe for Cowboy Cookies that looked appealing. It was an oatmeal cookie that had chocolate chips in place of raisins which sounded amazing. I went home from class and baked a batch that day. The recipe called for walnuts which I replaced with pecans because they were a staple in northern Florida. I modified it to make it vegan (yes, I was a vegan once - it didn’t last long).
The cookies became so popular with my friends, I took them to a few local coffee shops and lunch dives to see if they would purchase from me to sell to their customers. Before long, I couldn’t keep up with Cowboy Cookie production in my tiny apartment sized oven. There would be a line of people waiting for me to deliver the cookies each week at one popular lunch spot, Steamers, where the owner, Art, labeled them “Rachel’s Treats.”
A local vegetarian joint, The Book Lover’s Café, caught wind of my treats and offered me a job baking in their kitchen. Although I spent many years working in restaurants, this was my first baking job. I baked cakes, cookies and bars using their recipes. I had keys to the space so I could come in early to start baking. Many nights I would leave the bar at last call and go straight to the café to start baking. I listened to NPR to keep me company while I worked.
After college, I moved back to Maryland where I helped my friend Diane bake for her catering company in the wee hours of the morning before I went to teach at the local high school. Diane made a similar cookie to my cowboy cookies only she added cloves. I liked the idea and I stared incorporating both cloves and cinnamon in my cookies. The flavors reminded me of Mexican chocolate, which I adore.
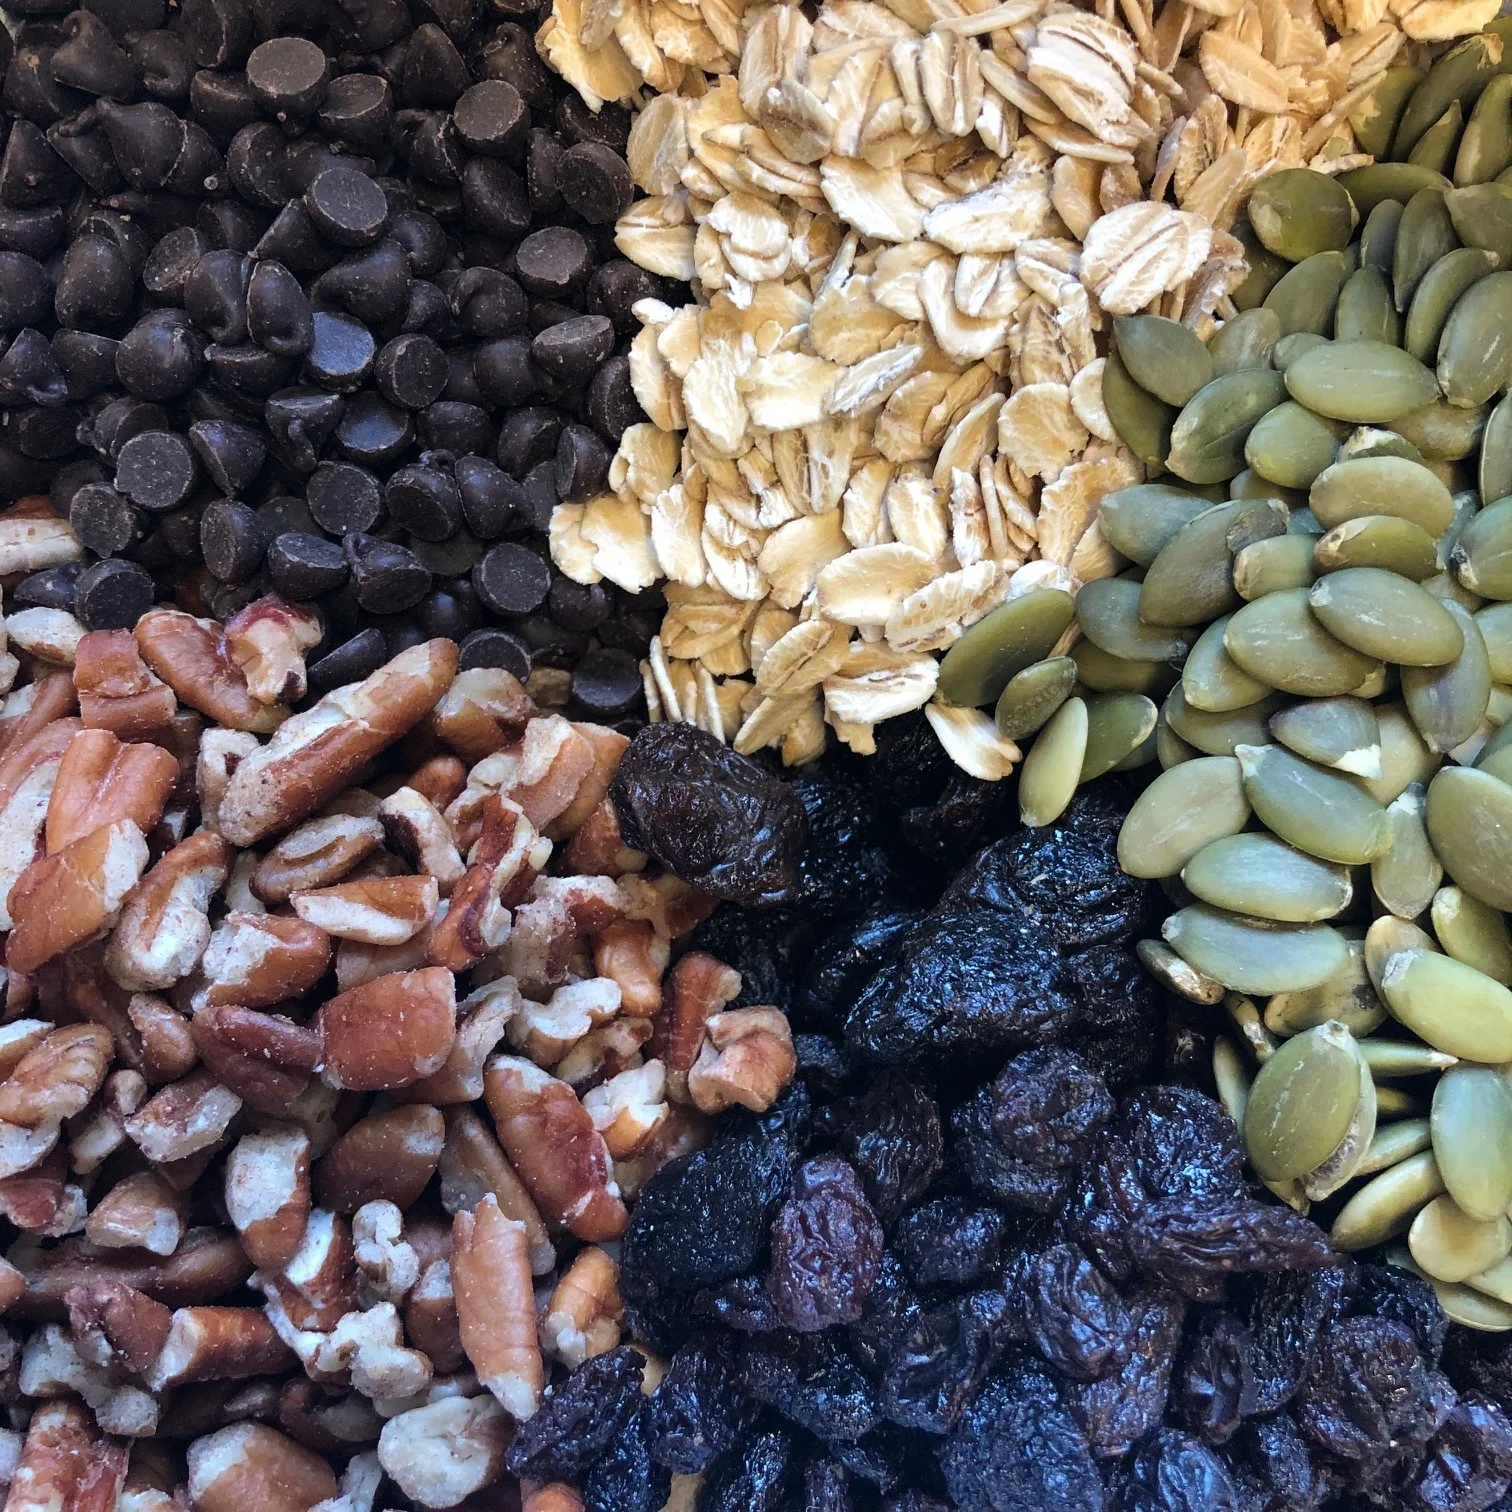
The cookies remained unchanged until after I graduated from culinary school. I was working at The Patisserie in Milford, PA. I started baking them to sell again. This time I made them with all the butter and the eggs as I had long outgrown my vegan phase. I also added raisins, pumpkin seeds and sunflower seeds to make them a true Cowboy Cookie. They were meant to be the original PowerBar. Cowboys took them out on the trails for nourishment throughout the day because they kept well and were easy to carry.
I’ve been baking Cowboy Cookies ever since, both for Montclair Bread Co. and for my family & friends. Here is the most current iteration of my recipe. Happy Baking!
2 cups flour
2 cups oats
1 teaspoon baking soda
1/2 teaspoon baking powder
1/2 teaspoon salt
1 teaspoon cinnamon
1/4 teaspoon cloves
———————————
2 sticks unsalted butter
3/4 cup sugar
3/4 cup brown sugar
2 eggs
1 teaspoon vanilla
———————————-
1 cup chocolate chips
3/4 cup pecans
3/4 cups raisins
1/4 cup pumpkin seeds
Cream butter & sugars until light and fluffy. Add eggs and vanilla, beat until mixture becomes smooth. Stir in dry ingredients: flour, oats, baking soda, baking powder and salt, until just combined. Add chocolate chips, pecans, raisins and pumpkin seeds until incorporated.
Scoop into tablespoon sized-balls. Refrigerate for 10-15 minutes. Flatten balls into 1/2” thick rounds, 12 per cookie sheet.
Bake at 350F for 10-12 minutes or until the edges of the cookies start to brown.
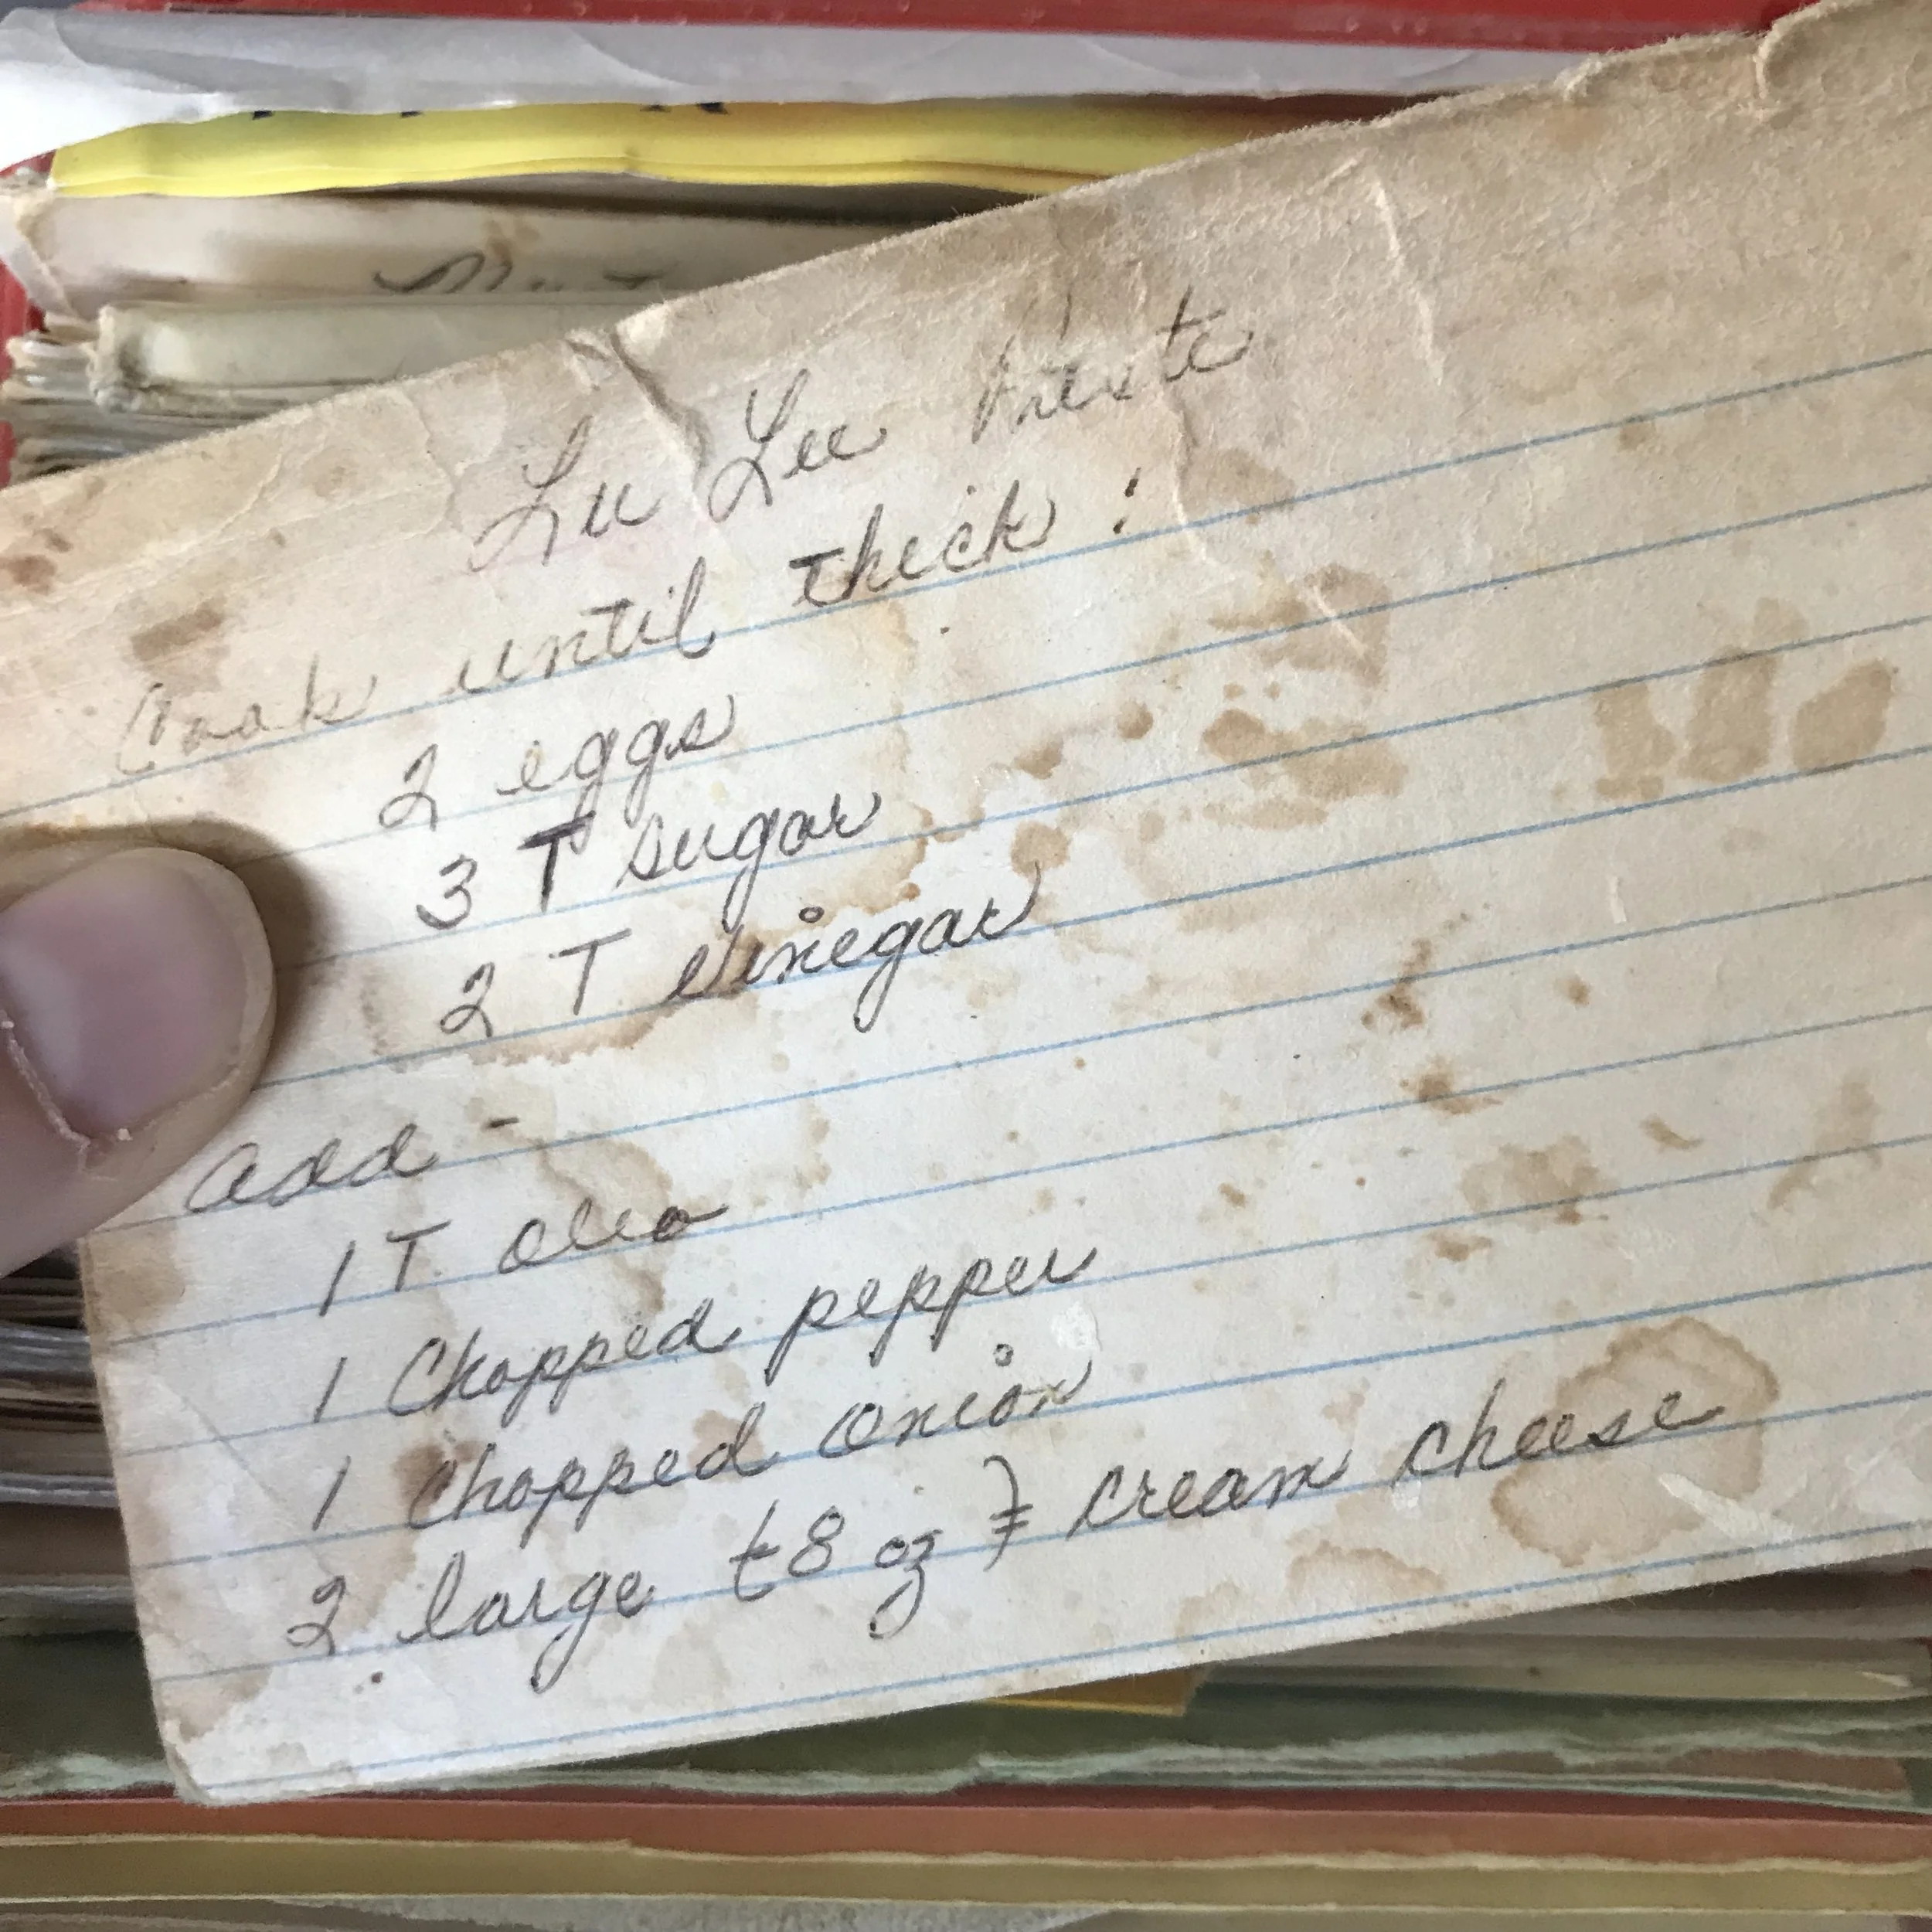
LuLu Paste
The start to every visit home was the same. I pulled into my grandmother's driveway, trying to ignore the yappy shih tzu, Leo, jumping up and down on the patio screen. I went inside, through the sliding glass doors and into the kitchen where I pulled up a stool to the counter to sit and chat with my Mom Mom (pronounced Mum mum). I would make it through exactly 3 minutes of conversation before I started digging through the fridge to see if it was there.
I started with the cool whip containers....left over potato salad, left over succotash, left over ham...nope. I moved on to the smaller country crock butter containers...actual butter, another actual butter, pink butter cream, purple butter cream, I turned to notice the pink & purple cupcakes on the stovetop before reaching for the last three tubs way in the back of the fridge, with my grandma exclaiming "what are you looking for? you're not going to find it!."
But it was there. It was always there when I came home to visit. Three tubs of Lulu Paste were hidden in the back, on the bottom shelf of the fridge, disguised as 'buttery spread.'
She had to hide the tubs. If anyone else could see what was inside, it wouldn't still be waiting for my homecoming. My aunt would pounce on them and if she didn't, my cousin would. But they didn't find them, I did. I grabbed a sleeve of saltine crackers and started in on the first tub. As I was finishing the last of it, using my cracker to wipe the sidewalls of the container clean, my aunt walked in. "You little snot. You couldn't save any for anyone else?!?!"
I was told the recipe for Lulu Paste came from a local caterer for whom my mother worked when she was a teenager. As are most of my grandmother's recipes, it's delightfully American from the heyday of casseroles and potlucks. The cream cheese has to be taken out hours before starting the recipe, so it can soften. My grandmother would use her pairing knife to meticulously dice the green pepper (from her garden of course) and onion into the tiniest of cubes. To this day, after a degree from the Culinary Institute of America and years of dicing veggies professionally, I still can not replicate her cuts WITH A PAIRING KNIFE, nonetheless!
She cooked the eggs, vinegar & sugar on the stovetop, on direct heat, in a small sauce pot. When I make this recipe, I create a double boiler by putting a stainless steel bowl on top of a pot of simmering water. The egg mixture is whisked constantly until it starts to thicken. There is a very fine line between thick and scrambled. As soon as it is thick, remove it from the heat and add the oleo, or if you live in modern society, butter will do. If the mixture is still hot and the cream cheese is room temperature, it is possible to use a spatula to stir them together into a fluffy, creamy spread. If the cream cheese is straight from the fridge because you didn't decide to embark on this process until the last minute, dump everything into a kitchen aid mixer and beat the shit out of it with the paddle attachment until it is a fluffy, creamy spread. After either preparation method, use a spatula to fold in the pepper and onion.
The only way to achieve Lulu Paste perfection is to refrigerate it overnight. It will set hard and the juices from the onion and pepper will commingle with the cream to form a perfect union. I promise, it's worth the wait. Although, consuming the entire batch while it's still warm isn't the most terrible experience either.
I kept a notebook of my grandma's key recipes when I was in college. Lulu Paste was one of them. My notebook was packed away in a box at my father's house after I graduated. One day he called me and he sounded like the leprechaun who just found his pot of gold. He was gearing up to move, going through boxes and he unearthed my recipes. The secret to Lulu Paste was finally in his reach! It was one of his favorites too but after he and my mother divorced, when I was only a year old, he could only have what I managed to smuggle out of my grandmother's house.